
Basic DC Beanie Crochet Pattern (Worsted Weight + 6 mm)
As an Amazon Associate, I earn from qualifying purchases. When you purchase through links on my site, I may earn an affiliate commission. Here’s how it works.
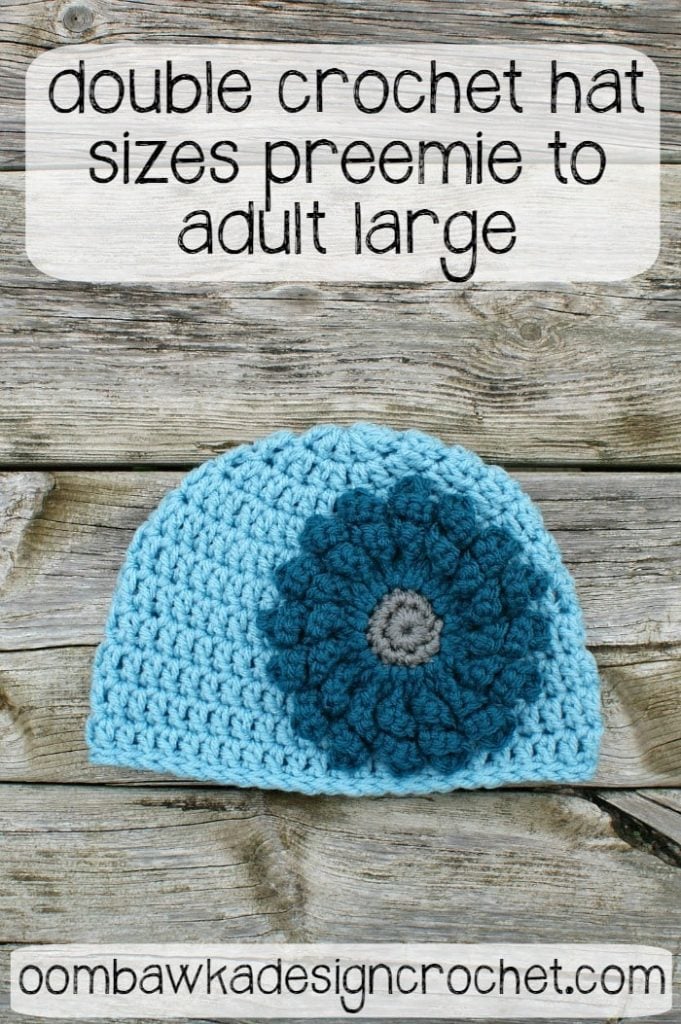
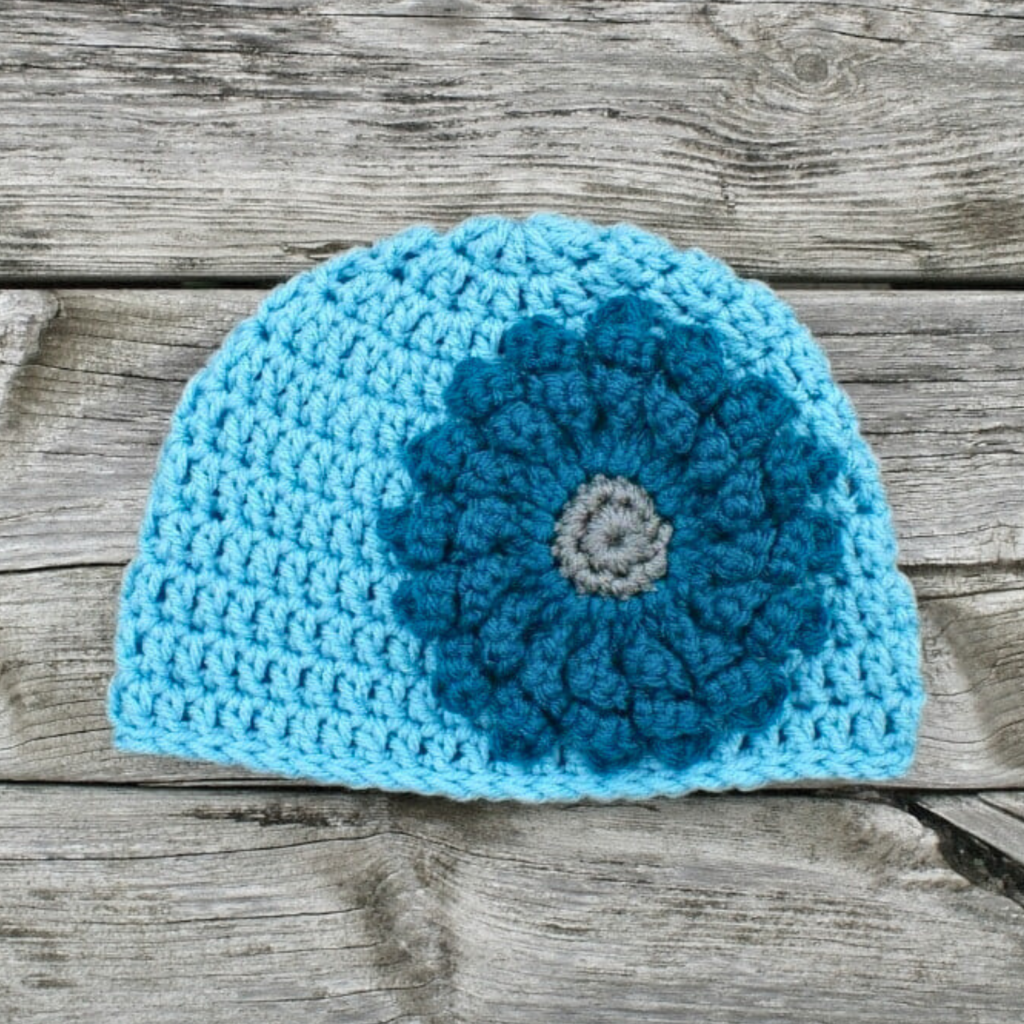
Looking for a simple and quick crochet beanie pattern? This Basic DC Beanie is worked with worsted weight yarn and a 6.00 mm (J) crochet hook, making it a great choice for stash-busting and easy gift-making. With sizes from baby to adult large, it’s a versatile pattern that uses only basic stitches to create a cozy, stretchy hat.

Fast and Easy Basic Double Crochet Beanie Pattern
I have had a few requests for a Basic DC Beanie using Worsted Weight Yarn and a 6.00 mm (J) crochet hook. This free basic double crochet beanie pattern is available in sizes baby to adult large. This is a very easy to follow pattern which uses simple crochet stitches. Here is the pattern you need if you are using this hook and yarn combination!
Find all my Free Hat Patterns here! Most of these include sizes from Preemie to Adult Large too.
Supplies
- Yarn: Red Heart with Love. 7 oz (198 g) and 370 yds (338 m).100% Acrylic. Medium Worsted Weight Yarn [4]. Machine wash and dry.
- Crochet Hook: 6.00 mm (J)
- Scissors, Yarn Needle and Stitch Marker (optional)
TIP: You may substitute Red Heart Super Saver, or any other heavier worsted weight yarn for this project.
Gauge
- Approximately 11 stitches per 4 inches, 7 rows per 4 inches
Abbreviations
US Terminology used
- 1st – first
- ch(s) – chain(s)
- dc – double crochet
- R – Round
- sc – single crochet
- sl st – slip stitch
- st – stitch
- sts – stitches
- x – times to repeat items listed in (brackets )
- [] – at the end of the row – the total number of stitches
- () – important notes AND sets of stitches to be worked within one stitch, or space
Notes
- the ch 2, sl st to join do not count as stitches now and throughout
- if you’d like to make the Basic DC Beanie reach the base of the hairline on the neck, please see the Base of the Earlobe Modifications section after the regular size hat pattern below
- to make a longer, slouchier Basic DC Beanie, simply repeat the ‘repeat section’ until you reach your preferred hat height
- omit the slip stitch round if you slip stitch tightly
- you can replace this with 1 sc in each stitch around, or 1 sc in the back loop of each stitch around.
- Add the Basic Double Crochet Beanie to your Ravelry library here.

Basic Double Crochet Beanie Pattern
for Worsted Weight Yarn and a 6 mm (J) Crochet Hook
This hat is designed to reach mid-ear. The project is worked in joined rounds from the top-down, in one piece.
Preemie Baby Basic Double Crochet Beanie
(to fit 12″ circumference)
With your 6 mm (J) crochet hook, or size needed to reach gauge:
R1: ch 3; 10 dc in the 3rd chain from the hook; sl st to the 1st dc of the round to join [10]
R2: ch 2, 2 dc in each st around, sl st to the 1st dc of the round to join [20]
R3: ch 2, (2 dc in the first st, 1 dc in the next st) 9 x, 1 dc in each remaining st around, sl st to the 1st dc of the round to join [29]
R4: ch 2, 1 dc in each st around, sl st to the 1st dc of the round to join [29]
R5-R7: repeat R4 [29]
R8: 1 sl st (loosely as this is a decorative edge) in each st around, finish off and weave in ends [29]
Newborn Baby Double Crochet Beanie Pattern
(to fit 13.5″ circumference)
With your 6 mm (J) crochet hook, or size needed to reach gauge:
R1: ch 3; 10 dc in the 3rd chain from the hook; sl st to the 1st dc of the round to join [10]
R2: ch 2, 2 dc in each st around, sl st to the 1st dc of the round to join [20]
R3: ch 2, (2 dc in the first st, 1 dc in the next st) 10 x, sl st to the 1st dc of the round to join [30]
R4: ch 2, (2 dc in the first st, 1 dc in each of the next 2 sts) 6 x, 1 dc in each remaining st around; sl st to the 1st dc of the round to join [36]
R5: ch 2, 1 dc in each st around, sl st to the 1st dc of the round to join [36]
R6-R9: repeat R5 [36]
R10: 1 sl st (loosely as this is a decorative edge) in each st around, finish off and weave in ends [36]
0-3 months Baby Basic DC Beanie Pattern
(to fit 16″ circumference)
With your 6 mm (J) crochet hook, or size needed to reach gauge:
R1: ch 3; 10 dc in the 3rd chain from the hook; sl st to the 1st dc of the round to join [10]
R2: ch 2, 2 dc in each st around, sl st to the 1st dc of the round to join [20]
R3: ch 2, (2 dc in the first st, 1 dc in the next st) 10 x, sl st to the 1st dc of the round to join [30]
R4: ch 2, (2 dc in the first st, 1 dc in each of the next 2 sts) 9 x, 1 dc in each remaining st around, sl st to the 1st dc of the round to join [39]
R5: ch 2, 1 dc in each st around, sl st to the 1st dc of the round to join [39]
R6-R9: repeat R5 [39]
R10: 1 sl st (loosely as this is a decorative edge) in each st around, finish off and weave in ends [39]
3-6 months Baby Basic DC Beanie Pattern
(to fit 17″ circumference)
With your 6 mm (J) crochet hook, or size needed to reach gauge:
R1: ch 3; 10 dc in the 3rd chain from the hook; sl st to the 1st dc of the round to join [10]
R2: ch 2, 2 dc in each st around, sl st to the 1st dc of the round to join [20]
R3: ch 2, (2 dc in the first st, 1 dc in the next st) 10 x, sl st to the 1st dc of the round to join [30]
R4: ch 2, (2 dc in the first st, 1 dc in each of the next 2 sts) 10 x, sl st to the 1st dc of the round to join [40]
R5: ch 2, (2 dc in the first st, 1 dc in each of the next 3 sts) 1 x, 1 dc in each remaining st around, sl st to the 1st dc of the round to join [41]
R6: ch 2, 1 dc in each st around, sl st to the 1st dc of the round to join [41]
R7-R10: repeat R6 [41]
R11: 1 sl st (loosely as this is a decorative edge) in each st around, finish off and weave in ends [41]
6-12 months Baby Double Crochet Beanie Pattern
(to fit 18″ circumference)
With your 6 mm (J) crochet hook, or size needed to reach gauge:
R1: ch 3; 10 dc in the 3rd chain from the hook; sl st to the 1st dc of the round to join [10]
R2: ch 2, 2 dc in each st around, sl st to the 1st dc of the round to join [20]
R3: ch 2, (2 dc in the first st, 1 dc in the next st) 10 x, sl st to the 1st dc of the round to join [30]
R4: ch 2, (2 dc in the first st, 1 dc in each of the next 2 sts) 10 x, sl st to the 1st dc of the round to join [40]
R5: ch 2, (2 dc in the first st, 1 dc in each of the next 3 sts) 4 x, 1 dc in each remaining st around, sl st to the 1st dc of the round to join [44]
R6: ch 2, 1 dc in each st around, sl st to the 1st dc of the round to join [44]
R7-R11: repeat R6 [44]
R12: 1 sl st (loosely as this is a decorative edge) in each st around, finish off and weave in ends [44]
12-24 months Toddler Basic DC Beanie Pattern
(to fit 19″ circumference)
With your 6 mm (J) crochet hook, or size needed to reach gauge:
R1: ch 3; 10 dc in the 3rd chain from the hook; sl st to the 1st dc of the round to join [10]
R2: ch 2, 2 dc in each st around, sl st to the 1st dc of the round to join [20]
R3: ch 2, (2 dc in the first st, 1 dc in the next st) 10 x, sl st to the 1st dc of the round to join [30]
R4: ch 2, (2 dc in the first st, 1 dc in each of the next 2 sts) 10 x, sl st to the 1st dc of the round to join [40]
R5: ch 2, (2 dc in the first st, 1 dc in each of the next 3 sts) 7 x, 1 dc in each remaining st around, sl st to the 1st dc of the round to join [47]
R6: ch 2, 1 dc in each st around, sl st to the 1st dc of the round to join [47]
R7-R11: repeat R6 [47]
R12: 1 sl st (loosely as this is a decorative edge) in each st around, finish off and weave in ends [47]
3-5 years Small Child Basic Double Crochet Beanie Pattern
(to fit 20″ circumference)
With your 6 mm (J) crochet hook, or size needed to reach gauge:
R1: ch 3; 10 dc in the 3rd chain from the hook; sl st to the 1st dc of the round to join [10]
R2: ch 2, 2 dc in each st around, sl st to the 1st dc of the round to join [20]
R3: ch 2, (2 dc in the first st, 1 dc in the next st) 10 x, sl st to the 1st dc of the round to join [30]
R4: ch 2, (2 dc in the first st, 1 dc in each of the next 2 sts) 10 x, sl st to the 1st dc of the round to join [40]
R5: ch 2, (2 dc in the first st, 1 dc in each of the next 3 sts) 10 x, sl st to the 1st dc of the round to join [50]
R6: ch 2, 1 dc in each st around, sl st to the 1st dc of the round to join [50]
R7-R12: repeat R6 [50]
R13: 1 sl st (loosely as this is a decorative edge) in each st around, finish off and weave in ends [50]
6-10 years Child Basic Double Crochet Beanie Pattern
(to fit 21″ circumference)
With your 6 mm (J) crochet hook, or size needed to reach gauge:
R1: ch 3; 10 dc in the 3rd chain from the hook; sl st to the 1st dc of the round to join [10]
R2: ch 2, 2 dc in each st around, sl st to the 1st dc of the round to join [20]
R3: ch 2, (2 dc in the first st, 1 dc in the next st) 10 x, sl st to the 1st dc of the round to join [30]
R4: ch 2, (2 dc in the first st, 1 dc in each of the next 2 sts) 10 x, sl st to the 1st dc of the round to join [40]
R5: ch 2, (2 dc in the first st, 1 dc in each of the next 3 sts) 10 x, sl st to the 1st dc of the round to join [50]
R6: ch 2, (2 dc in the first st, 1 dc in each of the next 4 sts) 2 x, 1 dc in each remaining st around, sl st to the 1st dc of the round to join [52]
R7: ch 2, 1 dc in each st around, sl st to the 1st dc of the round to join [52]
R8-R13: repeat R7 [52]
R14: 1 sl st (loosely as this is a decorative edge) in each st around, finish off and weave in ends [52]
Adult Small (teen) DC Beanie Pattern
(to fit 22″ circumference)
With your 6 mm (J) crochet hook, or size needed to reach gauge:
R1: ch 3; 10 dc in the 3rd chain from the hook; sl st to the 1st dc of the round to join [10]
R2: ch 2, 2 dc in each st around, sl st to the 1st dc of the round to join [20]
R3: ch 2, (2 dc in the first st, 1 dc in the next st) 10 x, sl st to the 1st dc of the round to join [30]
R4: ch 2, (2 dc in the first st, 1 dc in each of the next 2 sts) 10 x, sl st to the 1st dc of the round to join [40]
R5: ch 2, (2 dc in the first st, 1 dc in each of the next 3 sts) 10 x, sl st to the 1st dc of the round to join [50]
R6: ch 2, (2 dc in the first st, 1 dc in each of the next 4 sts) 5 x, 1 dc in each remaining st around, sl st to the 1st dc of the round to join [55]
R7: ch 2, 1 dc in each st around, sl st to the 1st dc of the round to join [55]
R8-R13: repeat R7 [55]
R14: 1 sl st (loosely as this is a decorative edge) in each st around, finish off and weave in ends [55]
Adult Medium Basic DC Beanie Pattern
(to fit 23″ circumference)
With your 6 mm (J) crochet hook, or size needed to reach gauge:
R1: ch 3; 10 dc in the 3rd chain from the hook; sl st to the 1st dc of the round to join [10]
R2: ch 2, 2 dc in each st around, sl st to the 1st dc of the round to join [20]
R3: ch 2, (2 dc in the first st, 1 dc in the next st) 10 x, sl st to the 1st dc of the round to join [30]
R4: ch 2, (2 dc in the first st, 1 dc in each of the next 2 sts) 10 x, sl st to the 1st dc of the round to join [40]
R5: ch 2, (2 dc in the first st, 1 dc in each of the next 3 sts) 10 x, sl st to the 1st dc of the round to join [50]
R6: ch 2, (2 dc in the first st, 1 dc in each of the next 4 sts) 8 x, 1 dc in each remaining st around, sl st to the 2st dc of the round to join [58]
R7: ch 2, 1 dc in each st around, sl st to the 1st dc of the round to join [58]
R8-R13: repeat R7 [58]
R14: 1 sl st (loosely as this is a decorative edge) in each st around, finish off and weave in ends [58]
Adult Large Basic DC Beanie Pattern
(to fit 24″ circumference)
With your 6 mm (J) crochet hook, or size needed to reach gauge:
R1: ch 3; 10 dc in the 3rd chain from the hook; sl st to the 1st dc of the round to join [10]
R2: ch 2, 2 dc in each st around, sl st to the 1st dc of the round to join [20]
R3: ch 2, (2 dc in the first st, 1 dc in the next st) 10 x, sl st to the 1st dc of the round to join [30]
R4: ch 2, (2 dc in the first st, 1 dc in each of the next 2 sts) 10 x, sl st to the 1st dc of the round to join [40]
R5: ch 2, (2 dc in the first st, 1 dc in each of the next 3 sts) 10 x, sl st to the 1st dc of the round to join [50]
R6: ch 2, (2 dc in the first st, 1 dc in each of the next 4 sts) 10 x, sl st to the 2st dc of the round to join [60]
R7: ch 2, (2 dc in the first st, 1 dc in each of the next 5 sts) 1 x, 1 dc in each remaining st around, sl st to the 1st dc of the round to join [61]
R8: ch 2, 1 dc in each st around, sl st to the 1st dc of the round to join [61]
R9-R15: repeat R8 [61]
R16: 1 sl st (loosely as this is a decorative edge) in each st around, finish off and weave in ends [61]
Create your project page for the Basic DC Beanie on Ravelry here.
Base of Earlobe Modifications for the Basic DC Beanie
(extra rounds to work by size)
Many chemotherapy donation centers prefer hats that reach the base of the hairline on the nape of the neck. This would be the same hat height as I use for the base of the earlobe and I have included instructions below to help you achieve that measurement with this pattern.
If you would like this hat to reach the base of the earlobe, instead of mid-ear you need to increase the repeat rows (where the instructions read “repeat R” you would add an additional round or rounds as specified below) by the following:
- Preemie, Newborn, 0-3 months and 3-6 months: add 1 repeat round
- 6-12 months: add 2 repeat rounds
- 12 months to 24 months: add 1 repeat round
- 3-5 years, 6-10 years: add 2 repeat rounds
- Small (teen): add 1 repeat round
- Medium (women) & Large (men): add 2 repeat rounds
Flower Pattern
The flower used on the Basic DC Beanie was my Fantastic Curly Flower. It looks super pretty on hats.
Visit this link for the free crochet pattern: Fantastic Curly Flower
You may also enjoy these posts:
- Free Half Double Crochet Beanie Pattern
- Free Basic Bulky Beanie Pattern
- Lightweight (DK) Basic Beanie Pattern
Socials:
Crochet this Basic DC Beanie using worsted weight yarn and a 6.00 mm (J) hook. Simple stitches. Free pattern in all sizes!
Happy crocheting!

Join the Oombawka Design Crochet Facebook Group!
Share your project photos, ask questions, and connect with other crocheters using Oombawka Design Crochet patterns and tutorials. We’d love to see your progress and finished makes! Join us here.
Connect with Me
Follow me on Facebook, Pinterest, and Instagram for the latest updates.
Love Shady Lane Original Crochet Designs?
Use code OOMB for 15% off any pattern on the Shady Lane website, or code OOMBAWKA in her Etsy Shop. Expires December 31, 2026.

Hi Jacquelyn, Yes the pattern does work for donation projects. You would need to check with the donation / charity you are planning to donate to to find out if they have any specific restrictions on the types of yarn you use to make the hats or the hat height, etc. For cancer centers they often want the hat to reach the base of the hairline on the nape of the neck which would be the base of earlobe measurement for the hats that I design. I modified the post slightly to make that section easier to locate. It usually means adding just one or 2 extra rounds for the overall height. Hope this helps! Rhondda